
Calendar Subscription

Islamic calendar iPhone mockup

The IslamCal Feed

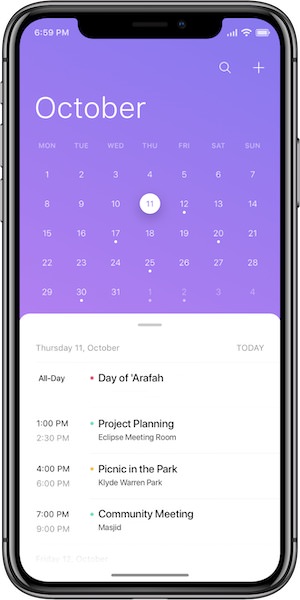
You can set up a feed from IslamCal to other calendar applications such as Google Calendar, Microsoft Outlook or Apple’s iCal. This is achieved using iCalendar feeds. iCalendar feeds are read-only and provide a periodic automatic synchronization between the source calendar (IslamCal) and another calendar application. Please note that this is a one-way read-only synchronization. You can view the events on an iCalendar feed, but you cannot modify them.

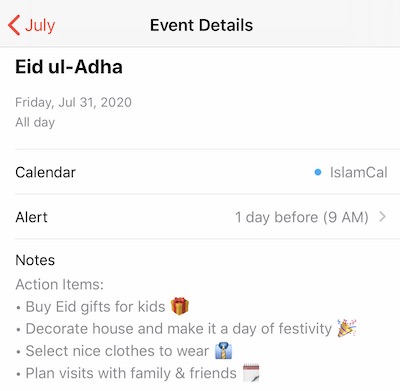
The dates marked on the IslamCal calendar may differ from the exact Hijri date in your locality. This can be due to how and when the start of a month is determined by your locality … whether it is marked by the visual sighting of the moon or based on a lunar calculation. The calendar is meant to seamlessly provide advance notification of upcoming days which can be both historically significant and characterized with specific virtues.

Our calendar is based on events within the Sunni framework that are documented and mentioned in the Qur’an and/or sound ahadith. If you believe something a certain date or event is missing, please use the contact form to let us know. We pray that this seamless integration with your calendar will serve as a timely and beneficial reminder and that, insha’Allah, you’re able to reap the rewards from virtuous days.

Below you’ll find a step-by-step guide, depending on the device or calendar in which you are trying to add the IslamCal calendar subscription. Please remember to choose an automatic refresh frequency (if applicable) to ensure that all changes and updates are automatically pushed out to your calendars and devices.

Features

  • Free subscription added to your calendar
  • Alerts on upcoming and significant events
  • Prepare for virtuous days, times, and actions
  • Tips on making the most of virtuous days
  • Updated with lunar calendar changes
  • Synced across all your devices
  • No additional app needed
IslamCal event details sample

Apple iCal (Mac)

  1. Open the Calendar application on your Mac
  2. Click on File and then select New Calendar Subscription
  3. Paste the IslamCal URL: https://calendar.google.com/calendar/ical/xislamcalx%40gmail.com/public/basic.ics
  4. Click on Subscribe
  5. On the next screen, change the auto-refresh frequency to every hour and uncheck the boxes next to Remove Alerts & Remove Attachments (to ensure you receive notifications on upcoming events and to see any useful attachments associated with the event)
  6. Click on OK

Pro Tip: To have iCloud push the IslamCal feed to all your Apple devices, subscribe to it on your Mac (not on an iPhone or iPad), and ensure that you choose “iCloud” as the Location, as described here.

iOS & iPadOS (iPhone & iPad)

  1. Open this page on your iPhone or iPad
  2. Click here and tap on Subscribe
  3. You should receive a confirmation message: The Calendar “IslamCal” has been added
* Please note that the preferred method is to add the calendar using your Mac, which allows you to have it synced across all your Apple devices via your iCloud account.

Google Calendar & Android

  1. On your computer, go to calendar.google.com (ensure that you’re signed into your Google account)
  2. Scroll down to the left side where you see your list of existing calendars, underneath which it says Other Calendars
  3. Click the + icon and select the From URL option
  4. Paste the IslamCal URL: https://calendar.google.com/calendar/ical/xislamcalx%40gmail.com/public/basic.ics
  5. Click on Add Calendar
  6. You should now see IslamCal in your list of calendars

Once you have added the calendar to your Google account, it is important to enable syncing so that the calendar stays up to date.

  1. On your computer, go to calendar.google.com/calendar/syncselect (ensure that you’re signed into your Google account)
  2. Under Shared Calendars you should now see IslamCal … check the box next to it and click on Save
  3. On your Android device, open the Calendar app
  4. Tap on the menu icon at the top left (triple horizontal bars)
  5. Scroll to the bottom and tap on Settings
  6. Tap on IslamCal
  7. Enable the Sync option